How to sharpen a whittling knife
A Step-by-Step Guide on Mastering the Art of Whittling

How to sharpen a whittling knife
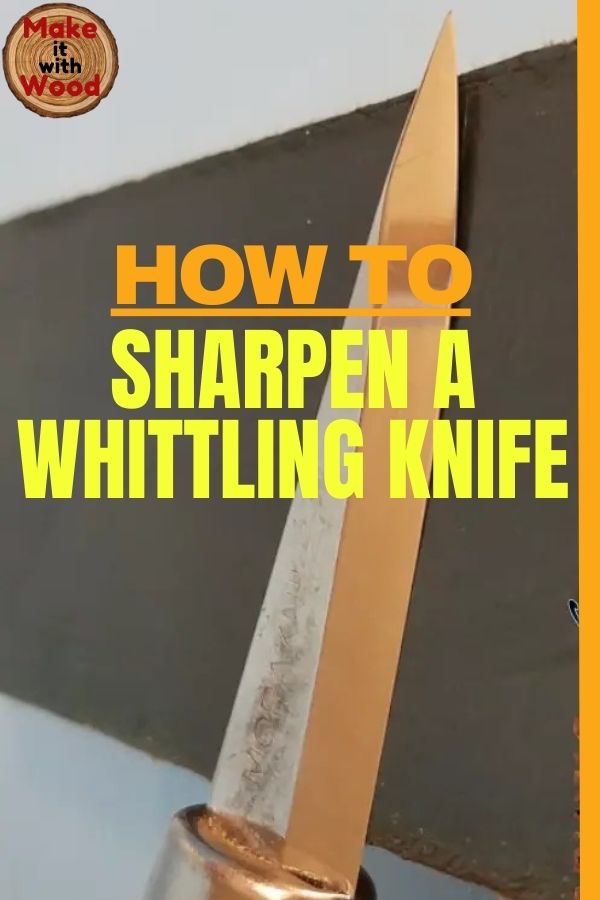
Whittling is a time-honored craft that allows you to transform a simple piece of wood into a stunning work of art. To achieve the level of detail and precision required, a sharp whittling knife is essential. However, over time, even the finest blades can lose their edge. In this comprehensive guide, we will walk you through the process of sharpening your whittling knife, ensuring that you’re always ready to create your next masterpiece. Discover the secrets on how to sharpen a whittling knife to maintaining a razor-sharp edge, and take your whittling skills to new heights.
At first…
1. The Significance of a Sharp Whittling Knife
Understanding why maintaining a sharp whittling knife is crucial can significantly impact your carving experience. A sharp blade provides greater control, reduces the risk of accidents, and enhances the overall quality of your carvings. Regularly sharpening your knife ensures optimal performance and ensures you achieve the best results while prioritizing your safety.
2. Assemble the Necessary Tools
Before embarking on the sharpening process, gather the essential tools required:
– A sharpening stone or whetstone: Opt for a medium or fine-grit stone suitable for sharpening knives.
– Honing oil or water: These lubricants aid in preventing heat buildup and improve the sharpening process.
– Safety gloves: Protect your hands from potential mishaps during sharpening.
– A leather strop: While optional, a strop assists in refining and polishing the knife’s edge after sharpening.
3. Preparing the Knife
Before you begin sharpening, ensure your whittling knife is clean and free from debris or rust. Use a soft cloth or paper towel to wipe the blade and handle, removing any dirt or residue. If rust is present, gently scrub the affected areas with steel wool or a rust eraser. Proper knife maintenance guarantees a smooth sharpening process.
4. Selecting the Correct Angle
Determining the appropriate angle for sharpening is vital. Most whittling knives have a bevel angle ranging between 15 and 25 degrees. If uncertain, refer to the manufacturer’s guidelines or seek advice from experienced whittlers. Maintaining a consistent angle throughout the sharpening process is crucial for achieving a razor-sharp edge.
5. Sharpening Techniques
a. Using a Sharpening Stone:
– Apply a few drops of honing oil or water to the stone’s surface.
– Hold the knife securely and position the blade against the stone at the desired angle.
– Using gentle and consistent pressure, move the knife’s edge across the stone in a sweeping motion.
– Repeat this process on both sides of the blade, ensuring an equal number of strokes for each side.
– Regularly clean the stone to remove any metal particles or debris.
b. Utilizing a Leather Strop
– Apply a small amount of honing compound to the leather strop.
– Hold the knife at the desired angle and draw the blade across the strop, moving away from the cutting edge.
– Flip the knife and repeat the process on the opposite side.
– Continue stropping until the blade achieves the desired sharpness and polish.
6. Testing the Sharpness
After sharpening your whittling knife, it’s essential to test its sharpness before using it. Carefully run your finger along the blade’s edge, exercising caution to prevent accidental cuts. A sharp knife should glide effortlessly and cleanly through the wood fibers.
7. Sharpening Tips and Best Practices
– Consistency is key: Maintain a consistent angle and pressure while sharpening to ensure an even and uniform edge.
– Use light pressure: Applying excessive force can result in uneven sharpening or damage to the blade. Let the stone or strop do the work.
– Practice patience: Sharpening a knife takes time and practice. Be patient and focus on maintaining a steady technique.
– Regular maintenance: Make it a habit to sharpen your whittling knife regularly, even if it doesn’t seem dull. This practice will help maintain its performance over time.
8. Additional Techniques for Knife Sharpening
– Honing guide: If you find it challenging to maintain a consistent angle while sharpening freehand, consider using a honing guide. It helps stabilize the blade and ensures a more precise sharpening angle.
– Stropping compounds: Experiment with different stropping compounds to achieve different levels of polish and refinement on the blade. Various compounds offer varying levels of abrasiveness and can contribute to a razor-sharp edge.
9. Proper Knife Storage
– After sharpening your whittling knife, it’s crucial to store it correctly to maintain its sharpness. Consider using a knife sheath, blade guard, or knife roll to protect the blade from accidental bumps or contact with other objects.
10. When to Seek Professional Help
– If you’re unsure about sharpening your whittling knife or have a particularly expensive or delicate blade, it’s advisable to seek professional assistance. Professional knife sharpening services have the expertise and equipment to ensure your knife is sharpened properly without risking damage.
11. Safety Precautions
– Always wear safety gloves to protect your hands while sharpening your knife.
– Pay close attention to your fingers and keep them away from the blade’s path to avoid accidental cuts.
– Work in a well-lit and well-ventilated area to ensure maximum visibility and safety.
Conclusion
Finally, Sharpening your whittling knife is an essential skill for any woodcarver. By following the step-by-step guide provided, practicing proper sharpening techniques, and maintaining your knife regularly, you’ll consistently achieve razor-sharp edges, enhancing your carving experience and allowing your artistic vision to come to life. Remember to prioritize safety throughout the process and enjoy the fulfilling journey of whittling. Happy carving!


