DOG Bowl Stand
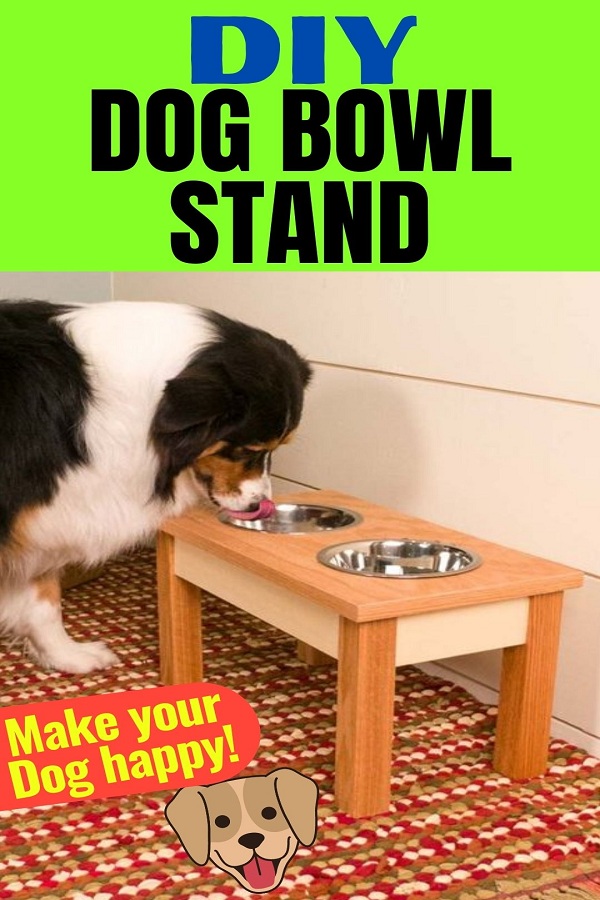
Make your dog happy with this wood dog bowl stand, and perfect your pocket-hole skills while you do it.
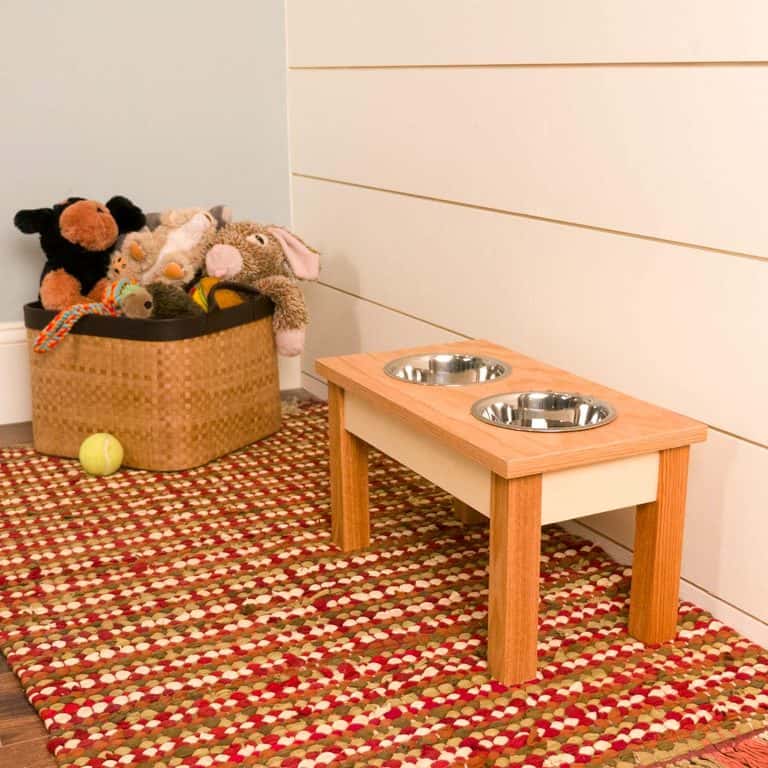
This design for a pet bowl stand is a great opportunity to perfect your pocket-hole prowess and, who knows, it could blossom into an idea for a side or coffee table. All you need are some basic tools and hardware. Depending on the size of your dog and your bowls, the dimensions may vary. I used 6-1/4 in. diameter bowls for a dog with a 19-in. wither height.
Tools Required
– Clamps
– Compass
– Drill/driver
– Iron
– Jigsaw
– Miter saw
– pocket hole clamp
– Pocket hole jig
– Table saw
– Utility knife
Materials Required
– 1-1/4” washer-head screws
– 1/4-in. plywood
– 1×3
– 2X2 board
– 3/4-in. plywood
– 7/8” iron-on edge banding
– dog bowls
– Wood glue
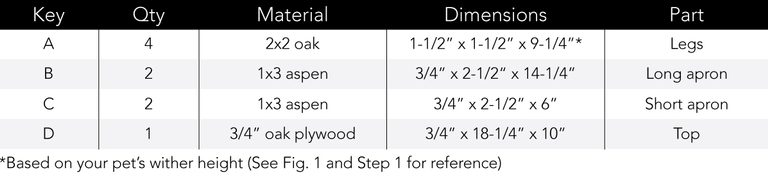
Cutting List
Step 1 : Mill parts to size
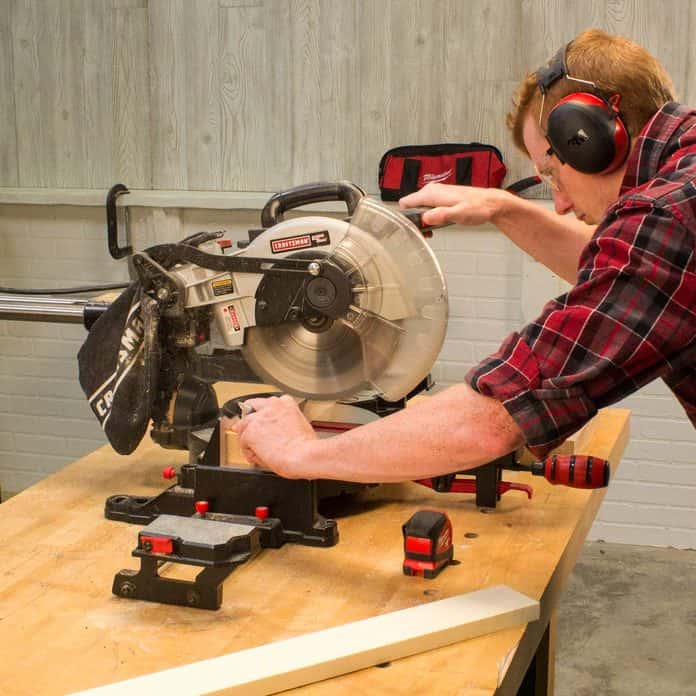
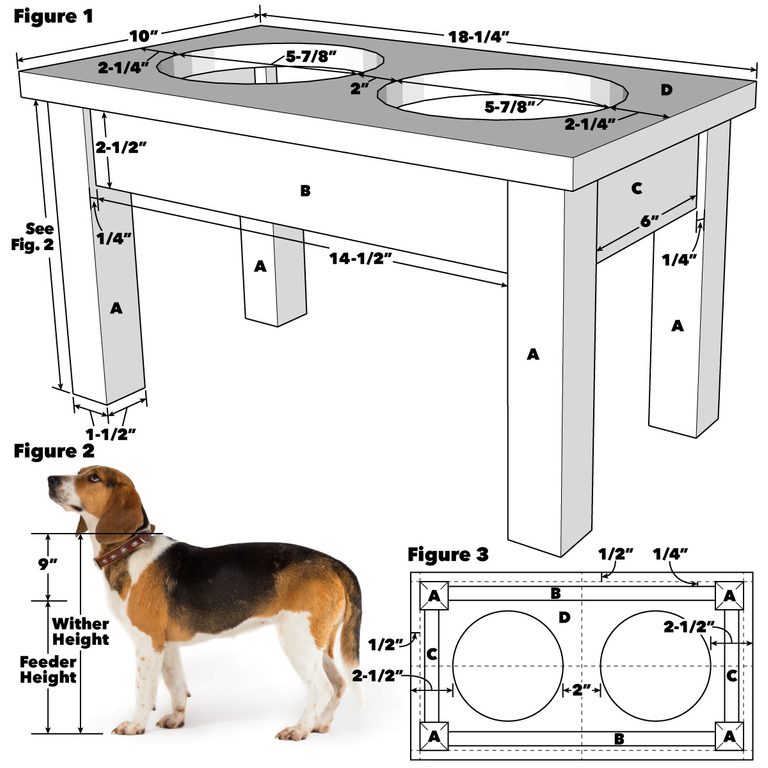
Cut the parts to the sizes in the Cutting List (or your dog and bowl size). Measure the height from the floor to your dog’s shoulder (the “wither” height) and subtract 9-3/4 in. to get the length of the stand legs (A), see Fig. 2.
Step 2 : Drill the pocket holes
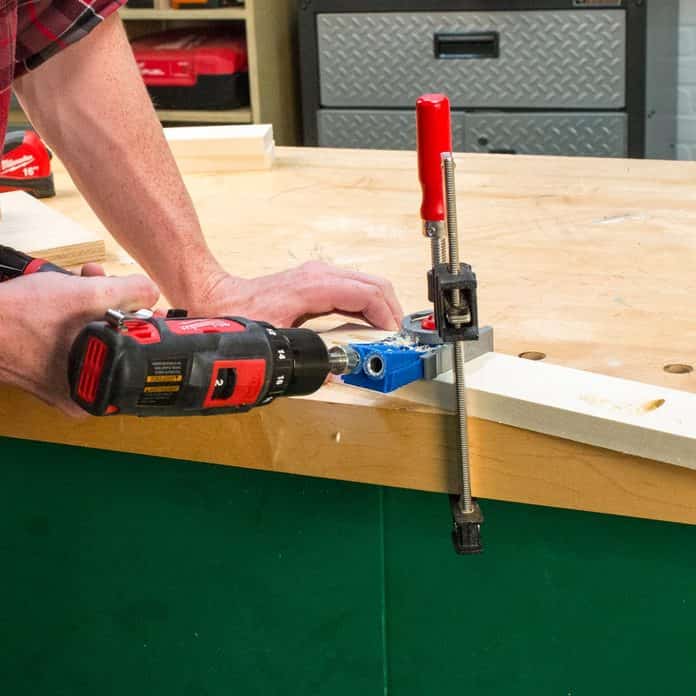
Drill pocket holes in all of the apron (B and C) ends. Also add pocket holes to the apron edges for attaching the top (A).
Step 3 : Assemble the base
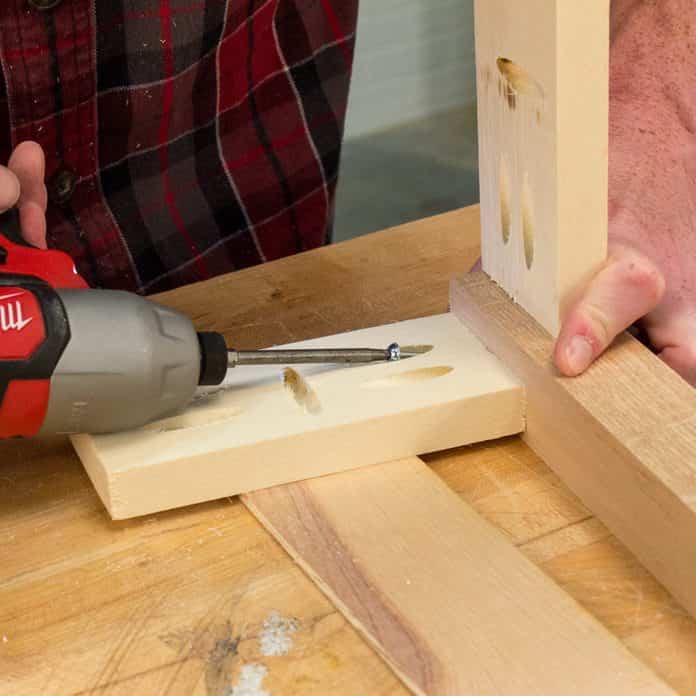
Set the short apron (C) on a 1/4-in. spacer to create the offset. Glue and clamp a leg (A) to each end of the short apron so that the ends of the legs and the top of the apron are flush. Attach with 1-1/4-in. washer-head screws. Use stainless steel screws so they won’t rust. Repeat this step for the other short apron. Finish the base by gluing, clamping and fastening the long aprons (B) between the assembled ends.
Step 4 : Apply edge banding
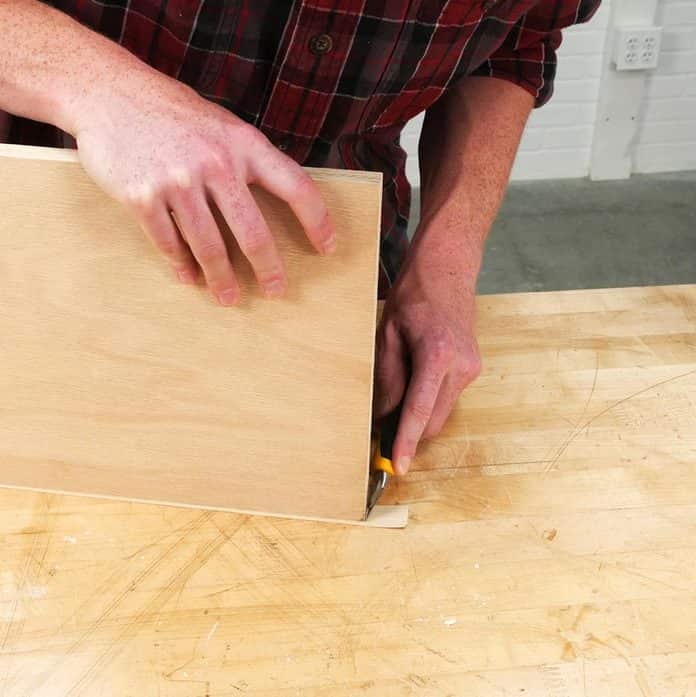
Iron the edge banding so that the edges overhang both faces of the plywood. To ensure good adhesion, rub the edge banding down with a wood block while the glue is setting. With the edge banding face down on your bench, carefully trim the excess with a utility knife.
Step 5 : Cut the holes for the bowls
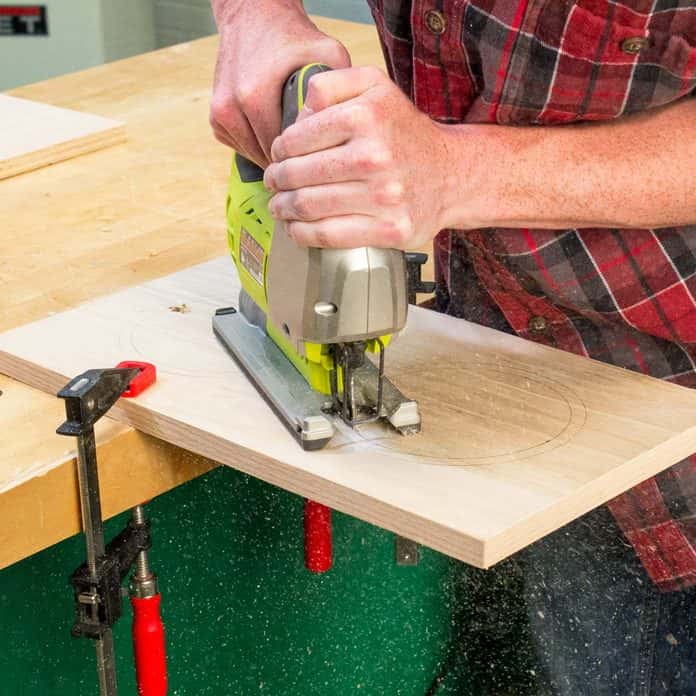
Mark the exterior edges of the bowls, making sure they won’t run into the apron or legs. Find the center of the bowl, subtract the lip from the diameter measurement and mark the cutting line with a compass. Drill a 3/8-in. hole for the jigsaw’s blade and cut out the circles.
Step 6 : Attach the top
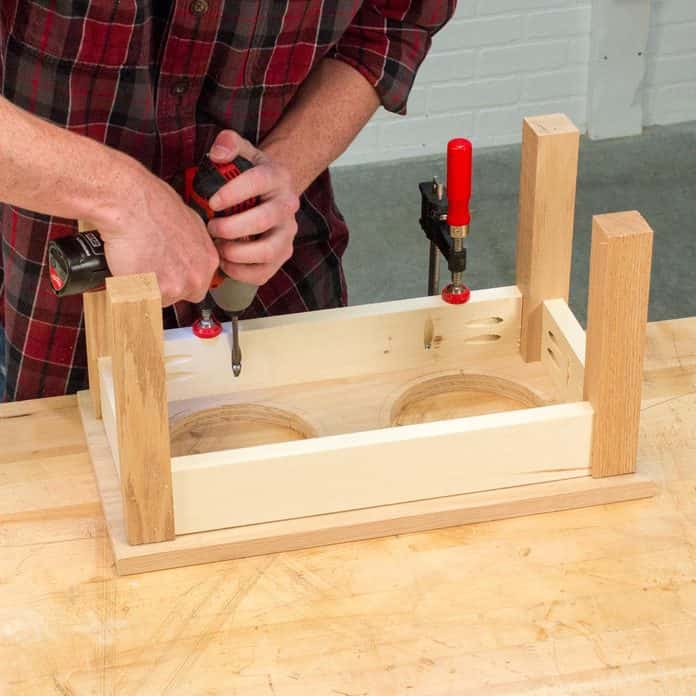
Center the base on the top (A) with the project upside down. Clamp and fasten with wood glue and 1-1/4-in. washer-head screws.
in familyhandyman.com