Free Diy Workbench Plans
Free Diy Workbench Plans
Use these free diy workbench plans to build yourself a workbench in your garage or shed that you can use to complete all your projects and maybe even get yourself some extra storage.
Diy Workbench Garage

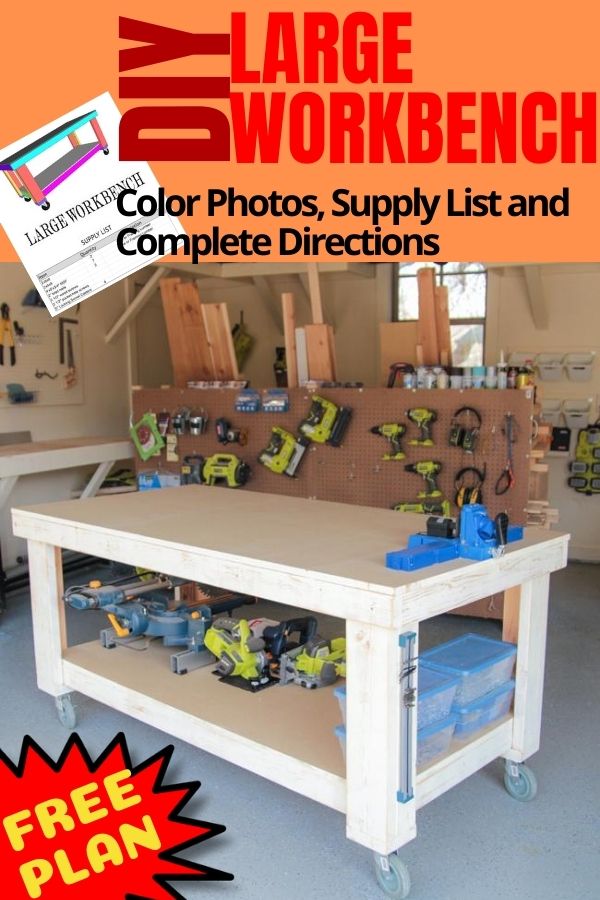
Build your own DIY workbench garage with this free plan. It has a large worktop and bottom shelf and is on wheels so you can take it wherever it needs to go. There are color photos, a supply list, and complete directions so you can build it yourself.
CLICK HERE TO DOWNLOAD THE FREE PRINTABLE PLANS!
SUPPLY LIST
2 – 2x6x8
7 – 2x4x8
2 4×8 sheets of 3/4″ MDF
4 5″ locking rubber casters
2.5″ wood screws
Kreg Jig
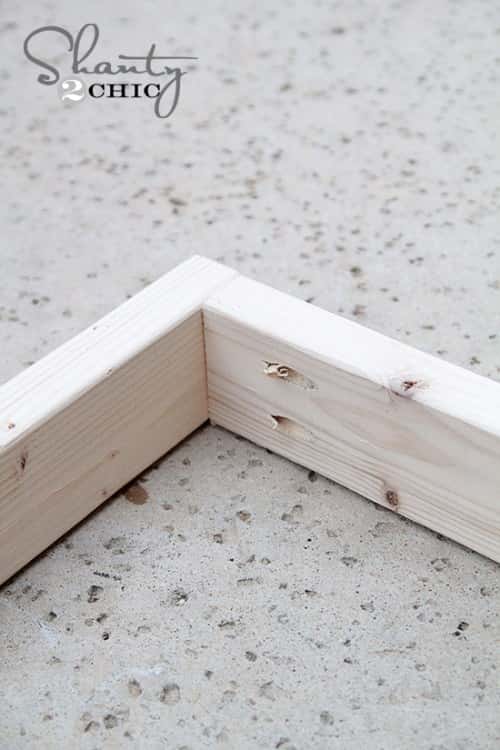
I started by building my frames. This workbench has two frames… A top frame, and a bottom shelf frame. Here are the measurements of both.
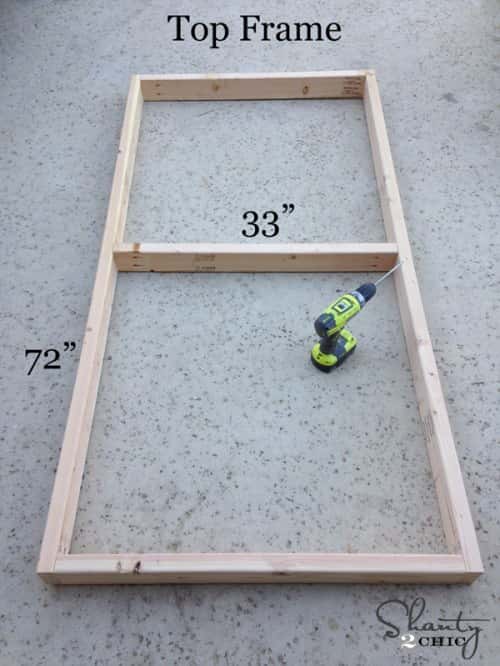

I used 2×4’s for both frames. I also used my crazy awesome Kreg Jig to put the whole thing together. If you don’t have a Kreg Jig, you can also predrill and attach all the pieces with 2.5″ wood screws. But, I totally suggest the Kreg Jig! Makes this part a breeze and you won’t have screws showing on the outside.
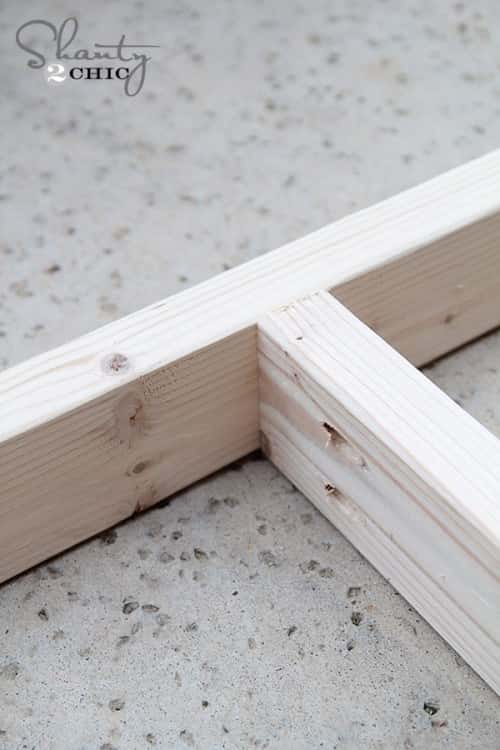
I used 1 1/2″ pocket holes and 2 1/2″ pocket hole screws to attach all my pieces. I did this because the width of the wood is 1.5″.
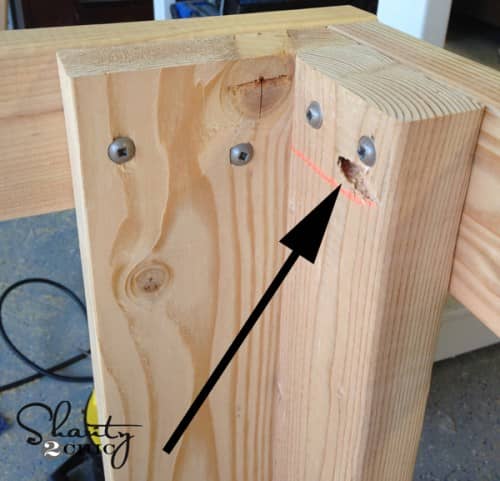
Now for the legs! Each leg is made from one 2×4 and one 2×6 piece. These measure 26.5″ long each. I attached the legs together first using my Kreg Jig. You can see where I put my pocket holes into my 2×4 pieces. I did 3 on each 2×4 piece. Then, I used Gorilla Wood Glue and 2.5″ screws to attach the legs together.
Here is another shot of the legs…
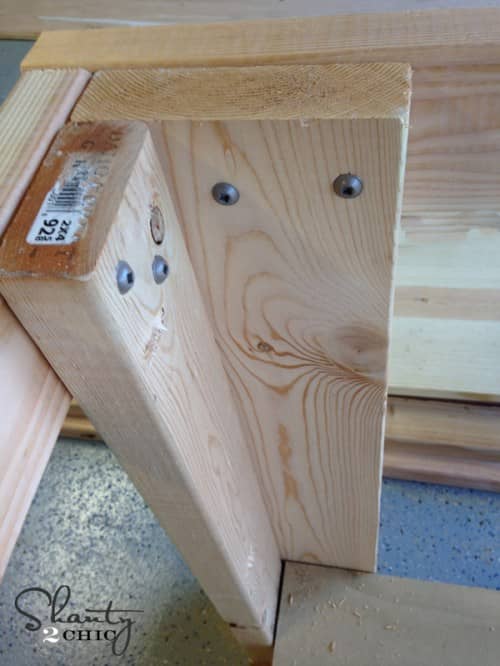
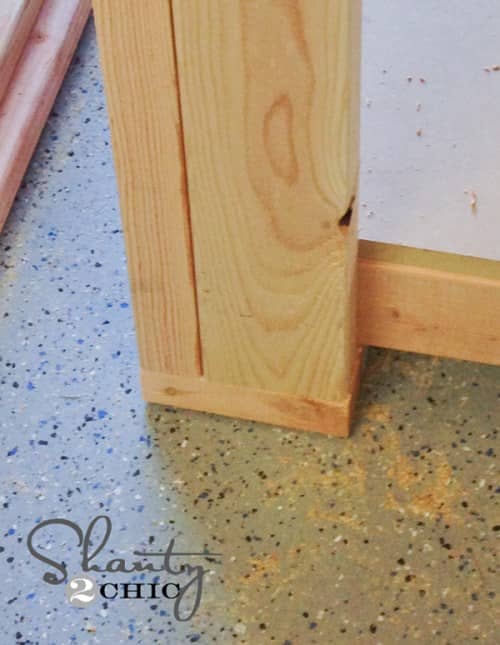
Each leg will also have a 5″ 2×6 piece on the bottom of each leg. These will hold the bottom shelf in place and hold the casters once it is all built. I used wood glue and 2 1/2″ wood screws to attach these to the bottom of each leg. Here it is after I attached the frames to it…
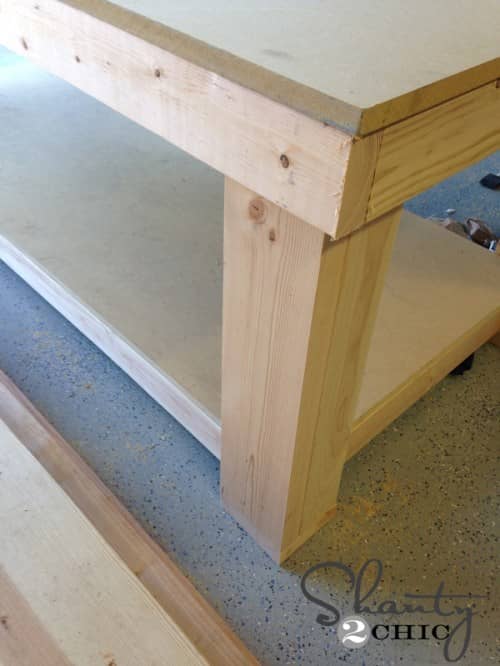
Once I had all the legs built, I attached them to my frames. The legs will line up on the outside of the bottom shelf frame, and on the inside of the top frame. I used heavy duty 2.5″ torx screws on this part. You can see them on the inside of my top frame. I also used my drill to pre drill before attaching.
Now for the shelves! This is the heavy part…So I got my hubby to help me lift them up. I used 3/4″ MDF for each shelf. I had the nice guys at Home Depot cut it down for me.
Here are those measurements…
Bottom Shelf – 30″ x 66″
Top Piece – 36″ x 72″
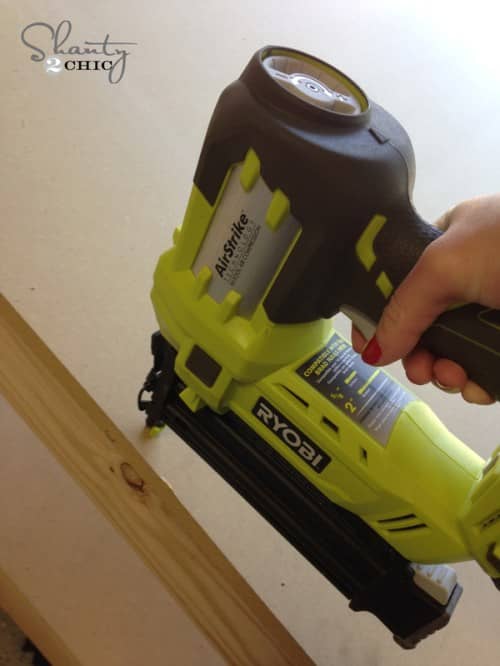
I used my Ryobi Airstrike Nailer to attach both pieces of MDF. I didn’t use glue on this part, because I want to be able to easily change out these pieces when they get too worn.
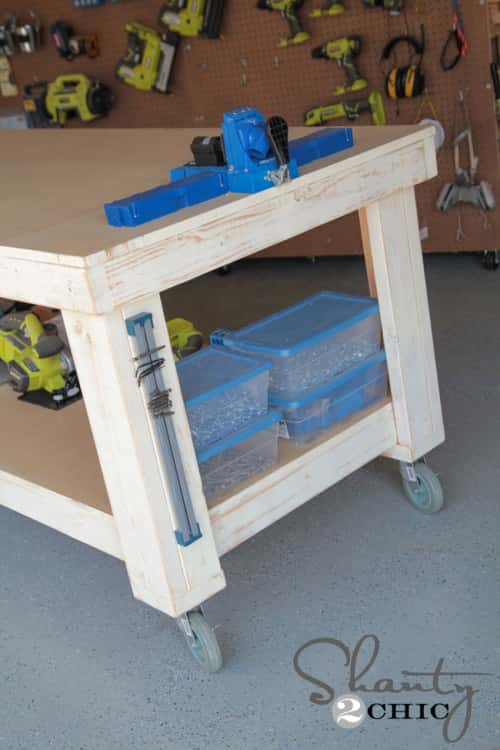
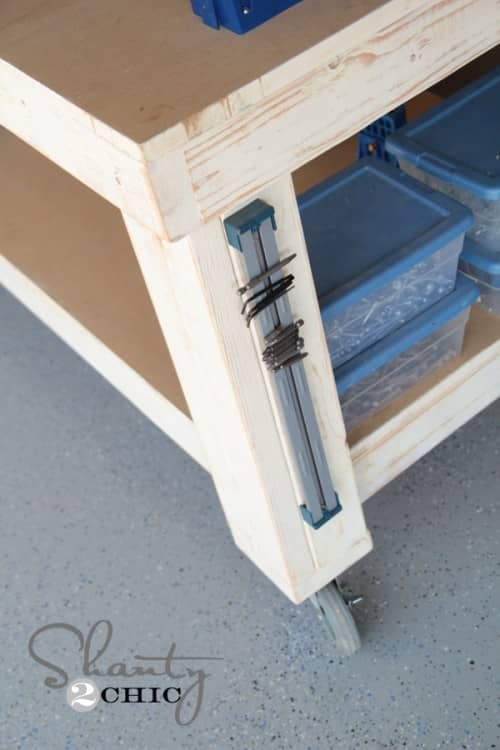
That’s it! My final step was adding the casters which I found at Northern Tool. These are 5″ rubber locking casters. I also gave the my frames and legs one fast coat of white paint and used my Corner Cat sander to distress them a bit… Every good workbench should be cute too, right??
HERE’S THE NEW WORKBENCH ALL FINISHED UP!
 Source
shanty-2-chic.com